

INVERTEC
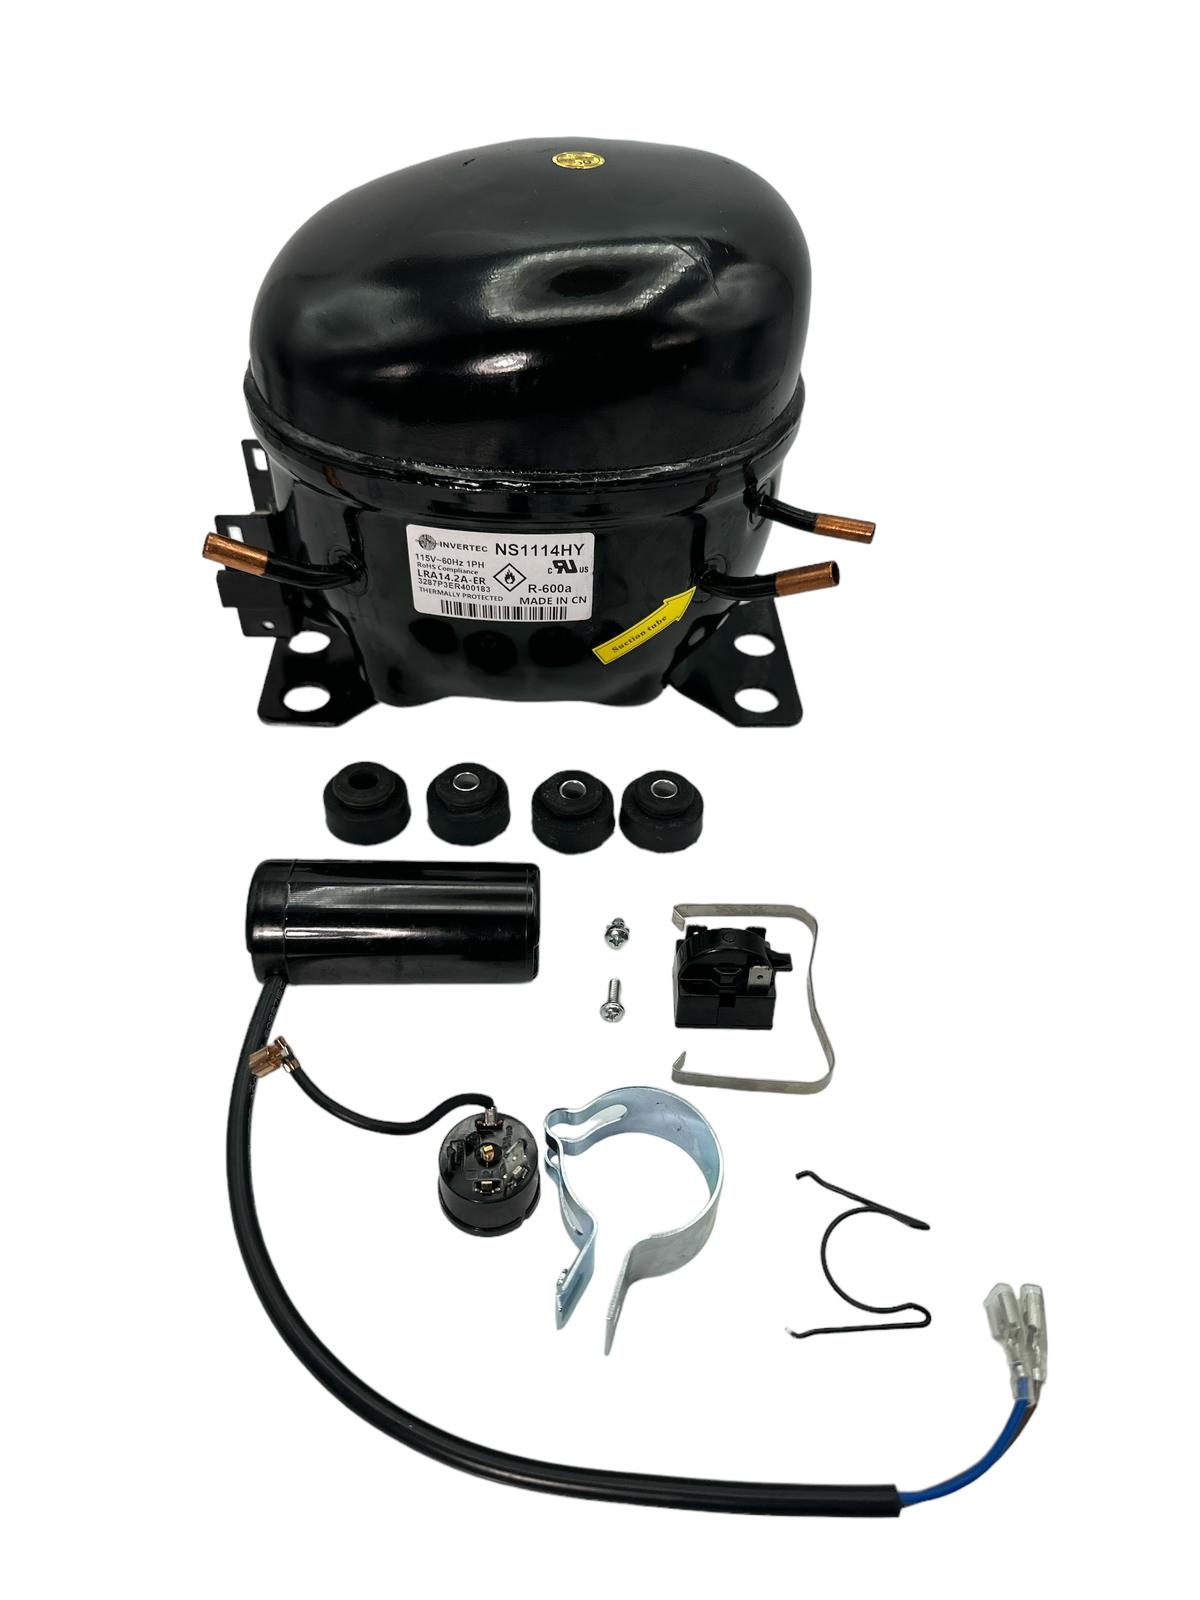
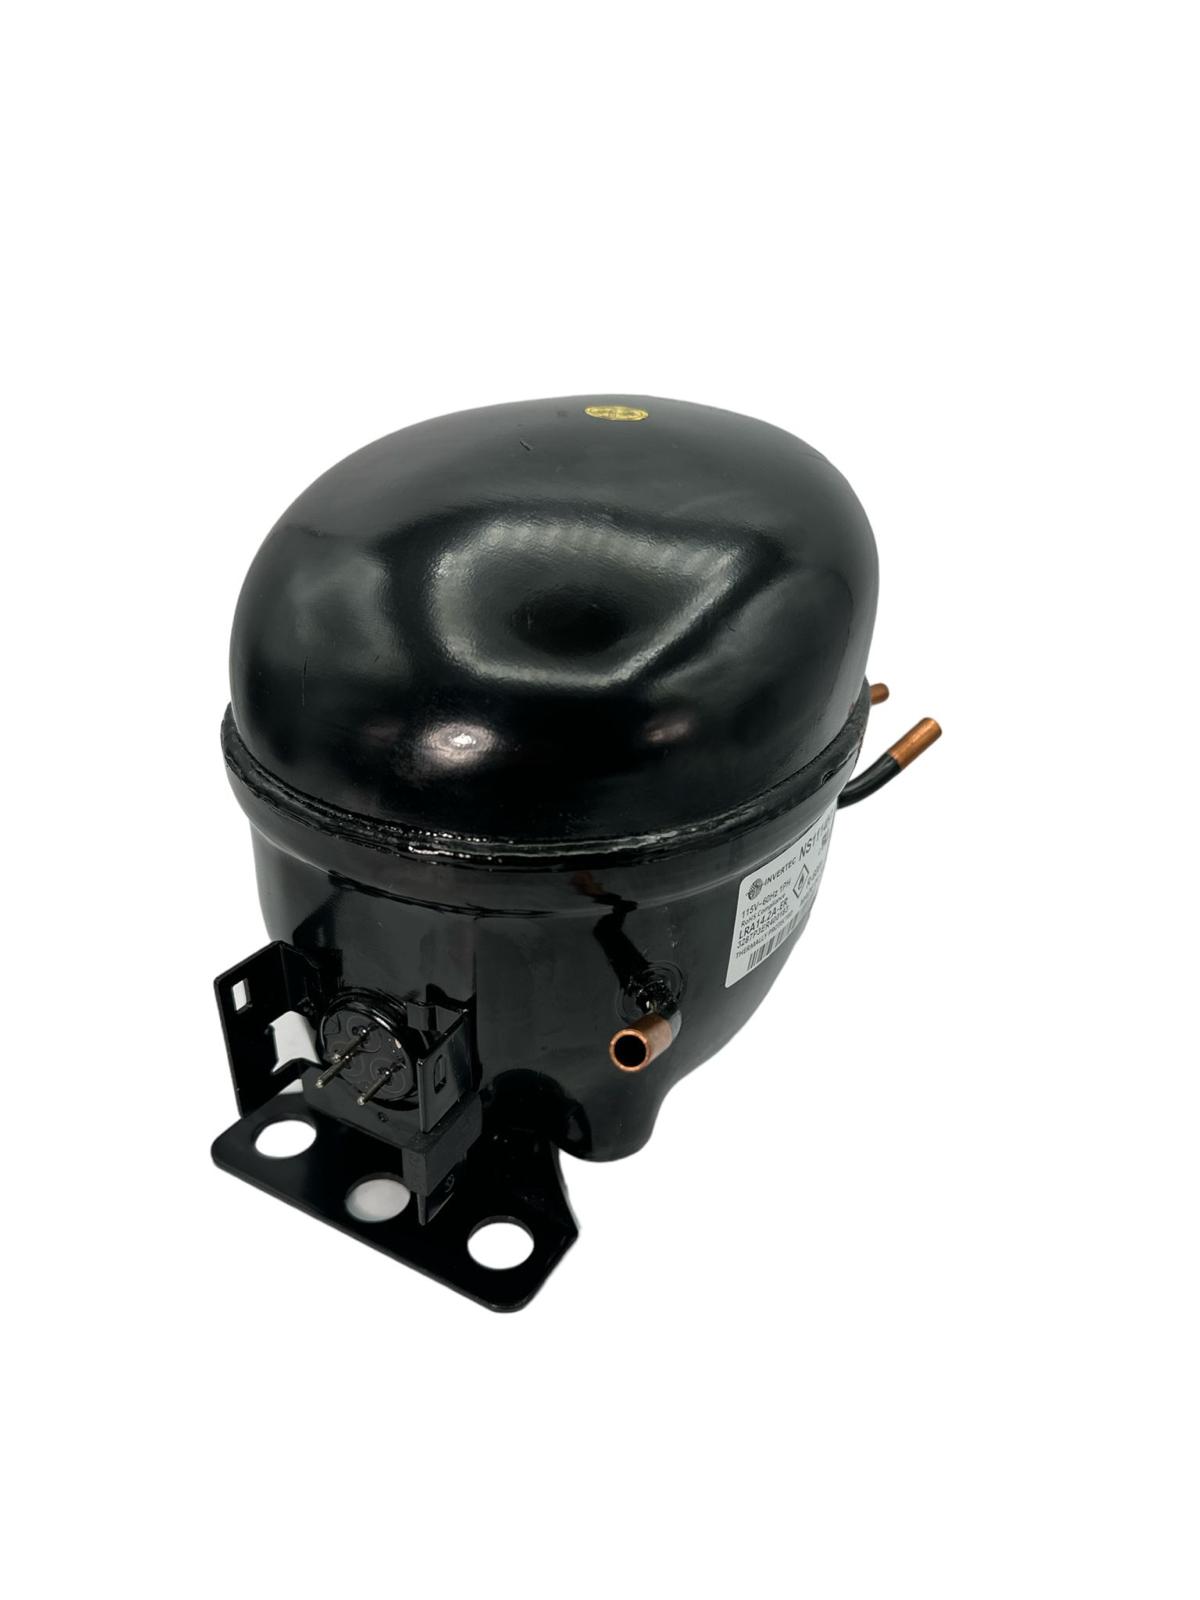
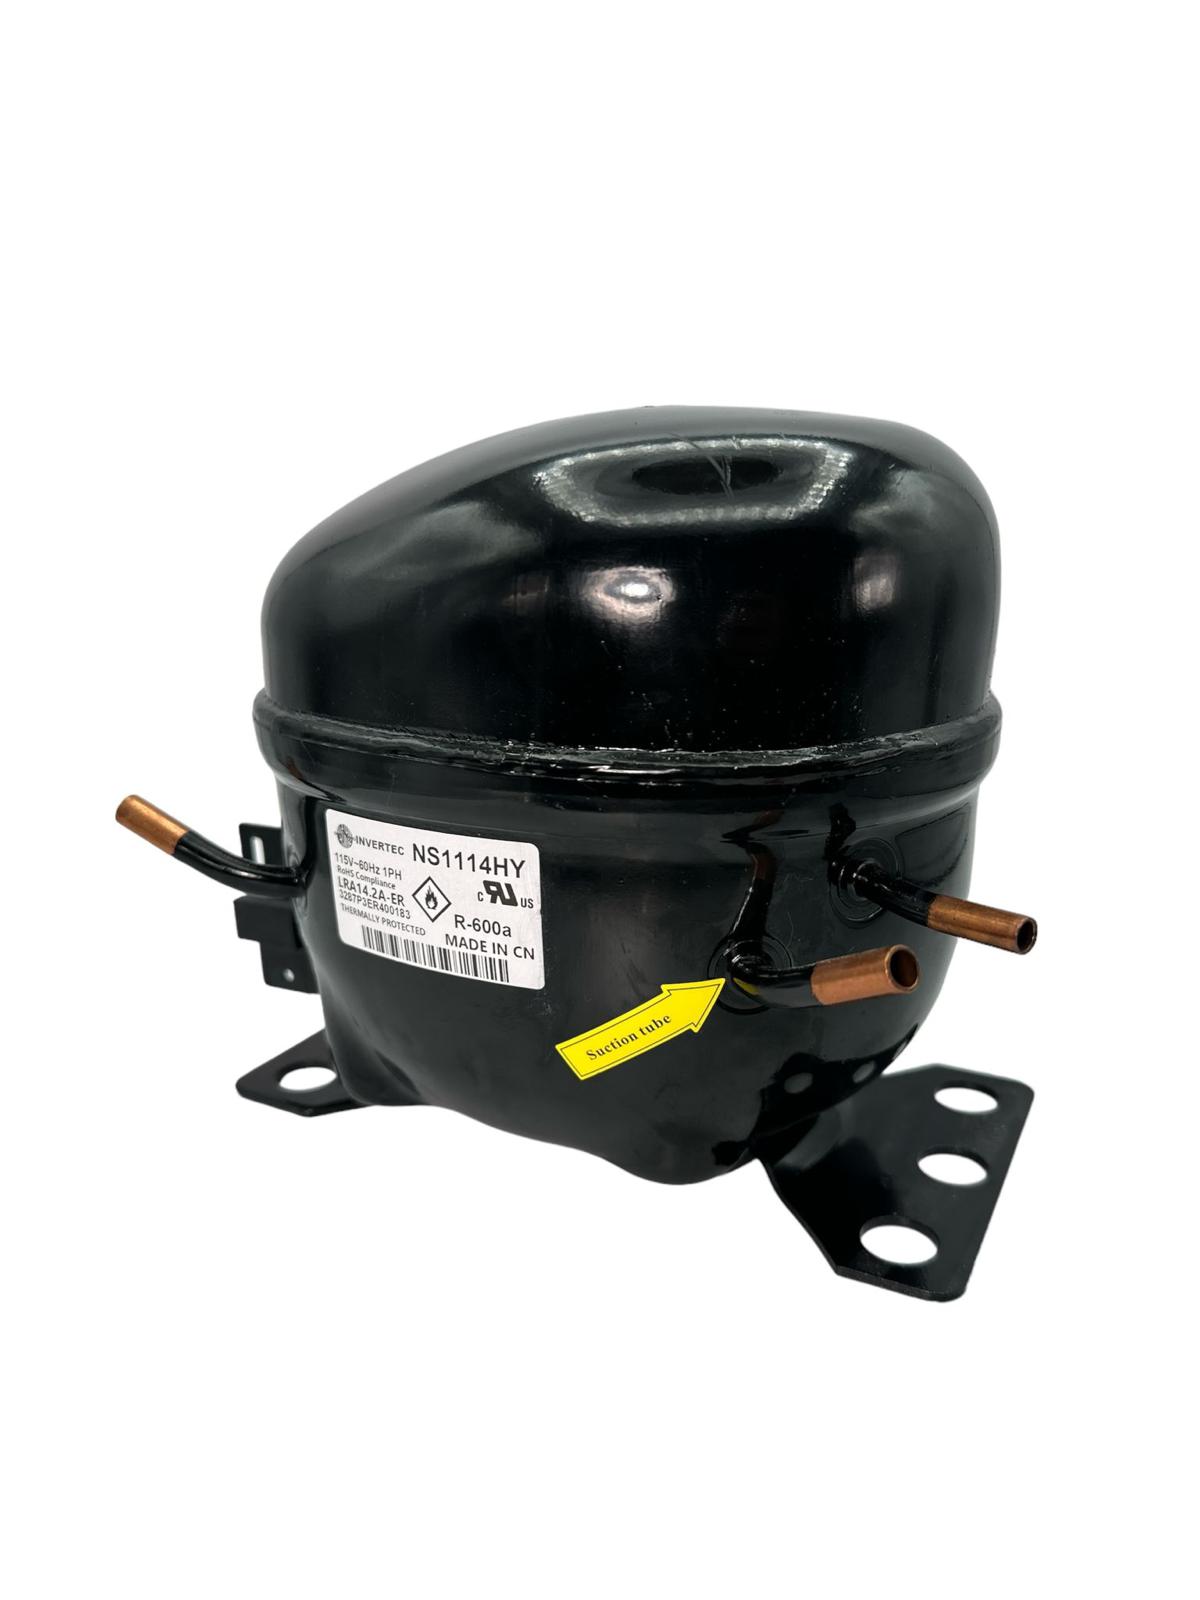
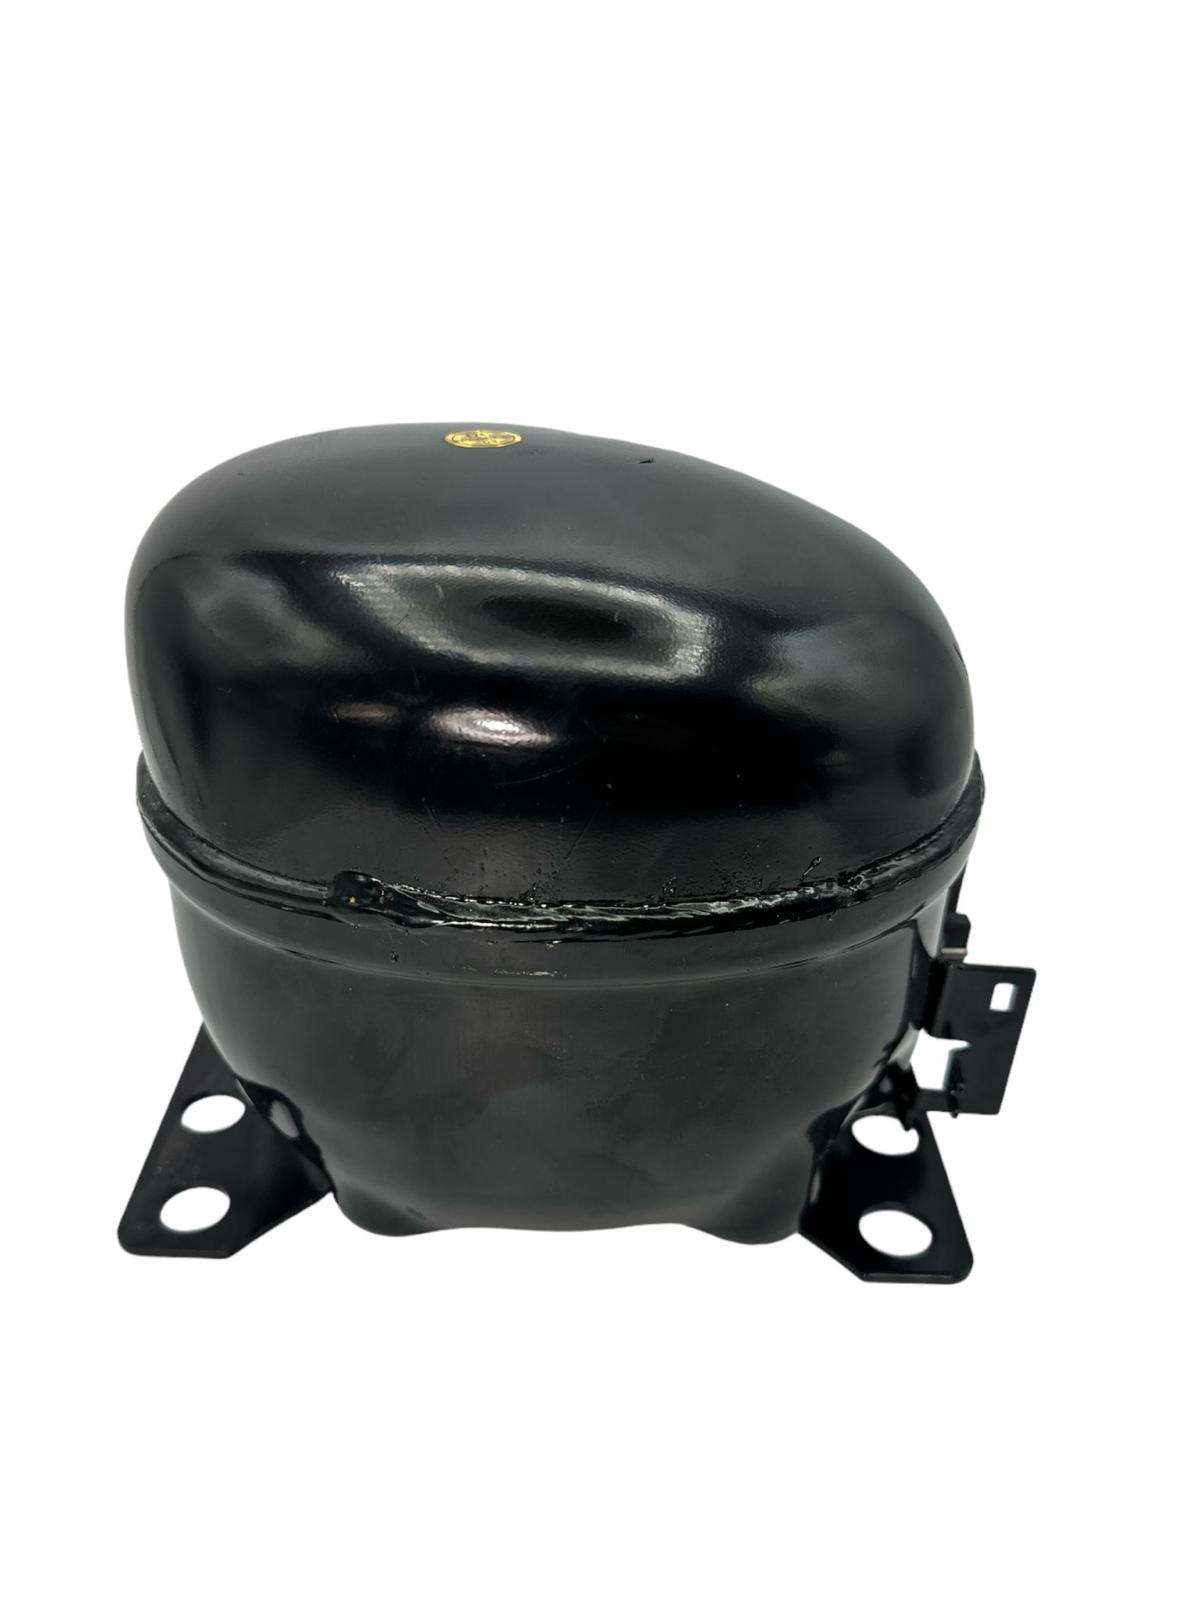
THOR Wine Cooler Compressor set - NS1114HY - 1PH.
THOR Wine Cooler Compressor set - NS1114HY - 1PH.
In Stock! usually ships same day!
Available: 99+
 Manufacturer’s Warranty
90 days replacement warranty!
 Return Policy
30 days return policy!
Condition: Unopened, No signs of use
PLEASE NOTE: Unboxed electrical products are not returnable.
Read return policy >>Couldn't load pickup availability
Business Hours: 9AM-5PM, Monday-Friday


WINE COOLER COMPRESSOR KIT - NS1114HY-ER
ITEM DESCRIPTION:
- Unplug the Appliance before installing this part.
- A brand-new replacement part in its original packaging.
PRODUCT TYPE:
- Compressor Kit - R600a
- Compressor, 115V, 60Hz, Single Phase (1PH)
COMPATIBLE BRANDS:
- THOR
REPLACES PART NUMBERS:
- NS1114HY
- EURUS168-04
- 1114HY
- ERNS1114HY
- EURNS1114HY
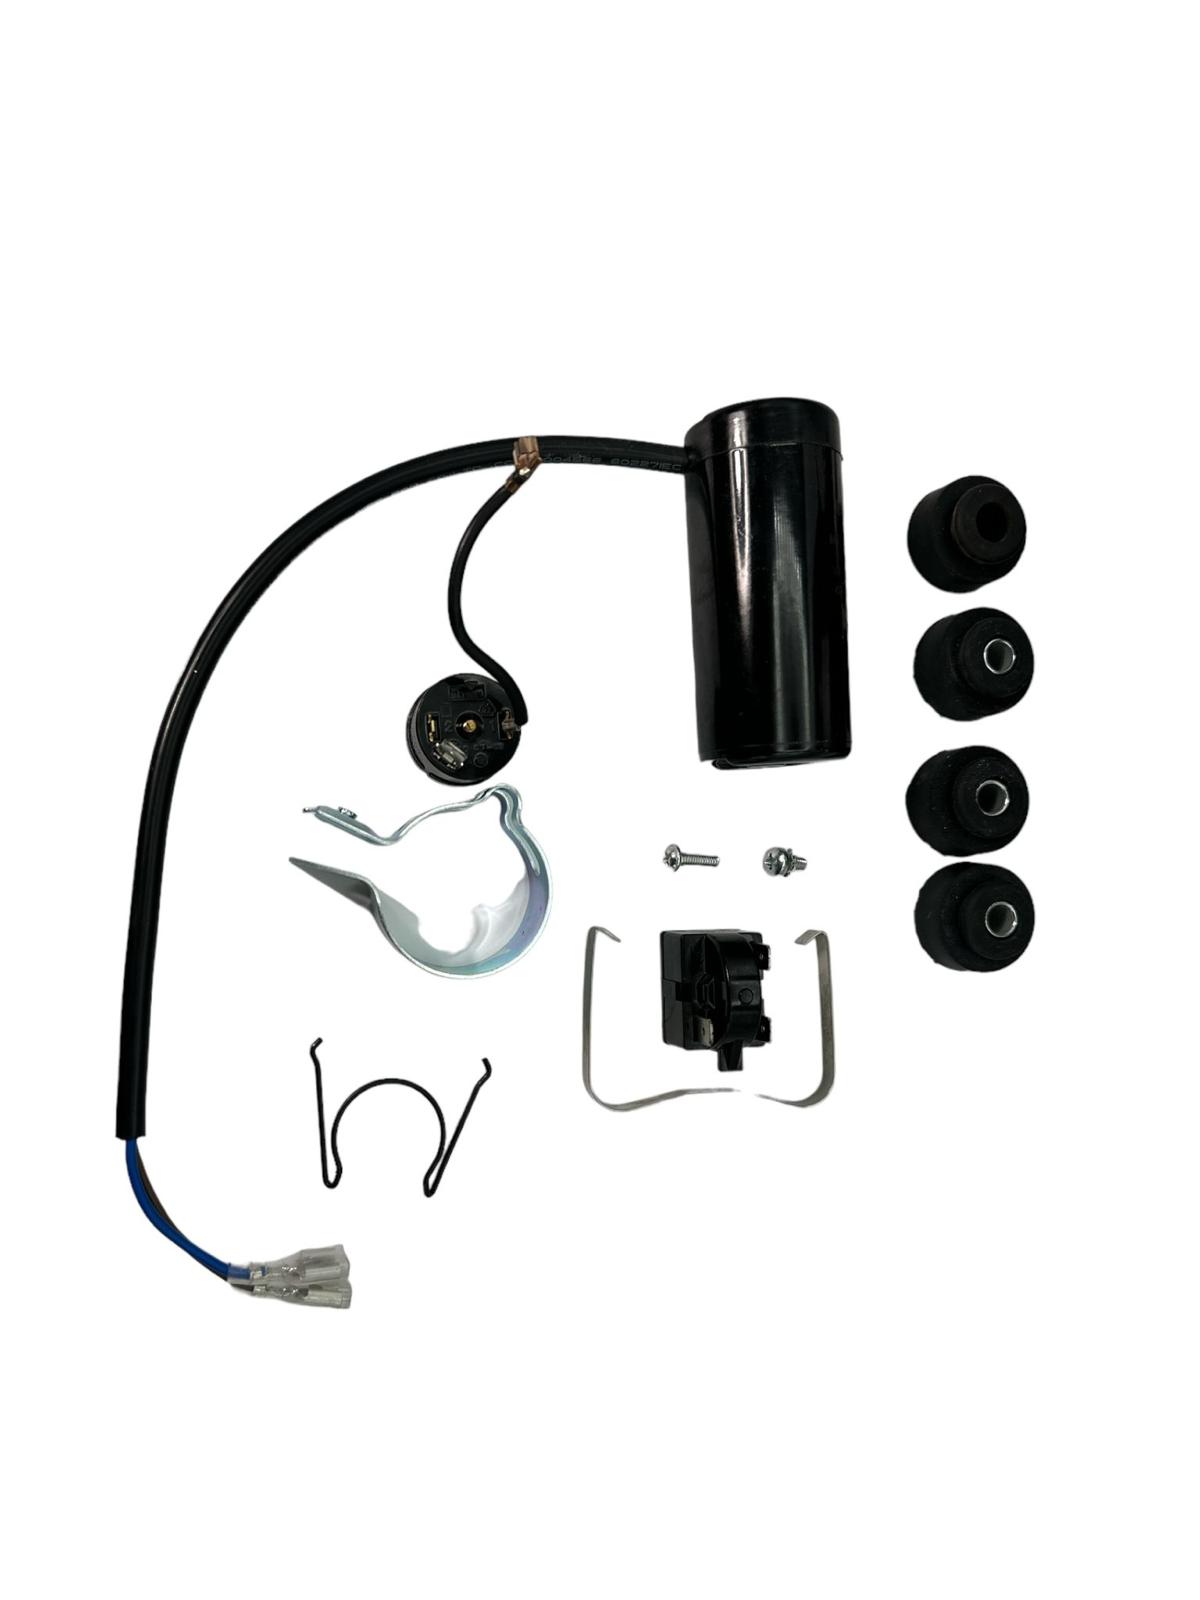
KIT INCLUDES:
- Compressor assembly
- Back cover + Bracket
- Start relay
- Start capacitor + Bracket
- Overload protector
- instructions
COMPRESSOR INSTALLATION TIPS:
How to install it?
Note: this repair has to be done by a professional or by a person with the required knowledge.
Preparing
Step 1 - Unplug the Unit
Before starting the installation, unplug the unit from the power supply. Remove the contents of the fridge and put them in another fridge or icebox temporarily.
Step 2 - Locate the Defective Compressor
Mostly, it's located at the bottom of the refrigerator and can be easily accessed from the back of the unit. Some models might have a guard or protector that has to be removed to expose the compressor.
Step 3 - Remove the Defective Part
Detach any wiring and the devices from the defective compressor and remove it from its spot. Remove any bolts or mounting hardware.
Installing
Step 1 - Add Refrigerant
Refrigerant makes the compressor work. Before charging the unit with a refrigerant, you need to pull a vacuum. In addition, ensure your fridge isn't leaking any of this refrigerant. If it is, fix the issue before replacing it.
Step 2 - Connect the Capacitor
Connect the capacitor and start relay to the new compressor following the correct wiring code as provided by your manufacturer.
Step 3 - Test the Unit
After the wiring and devices have been installed, test the unit for 24 hours.